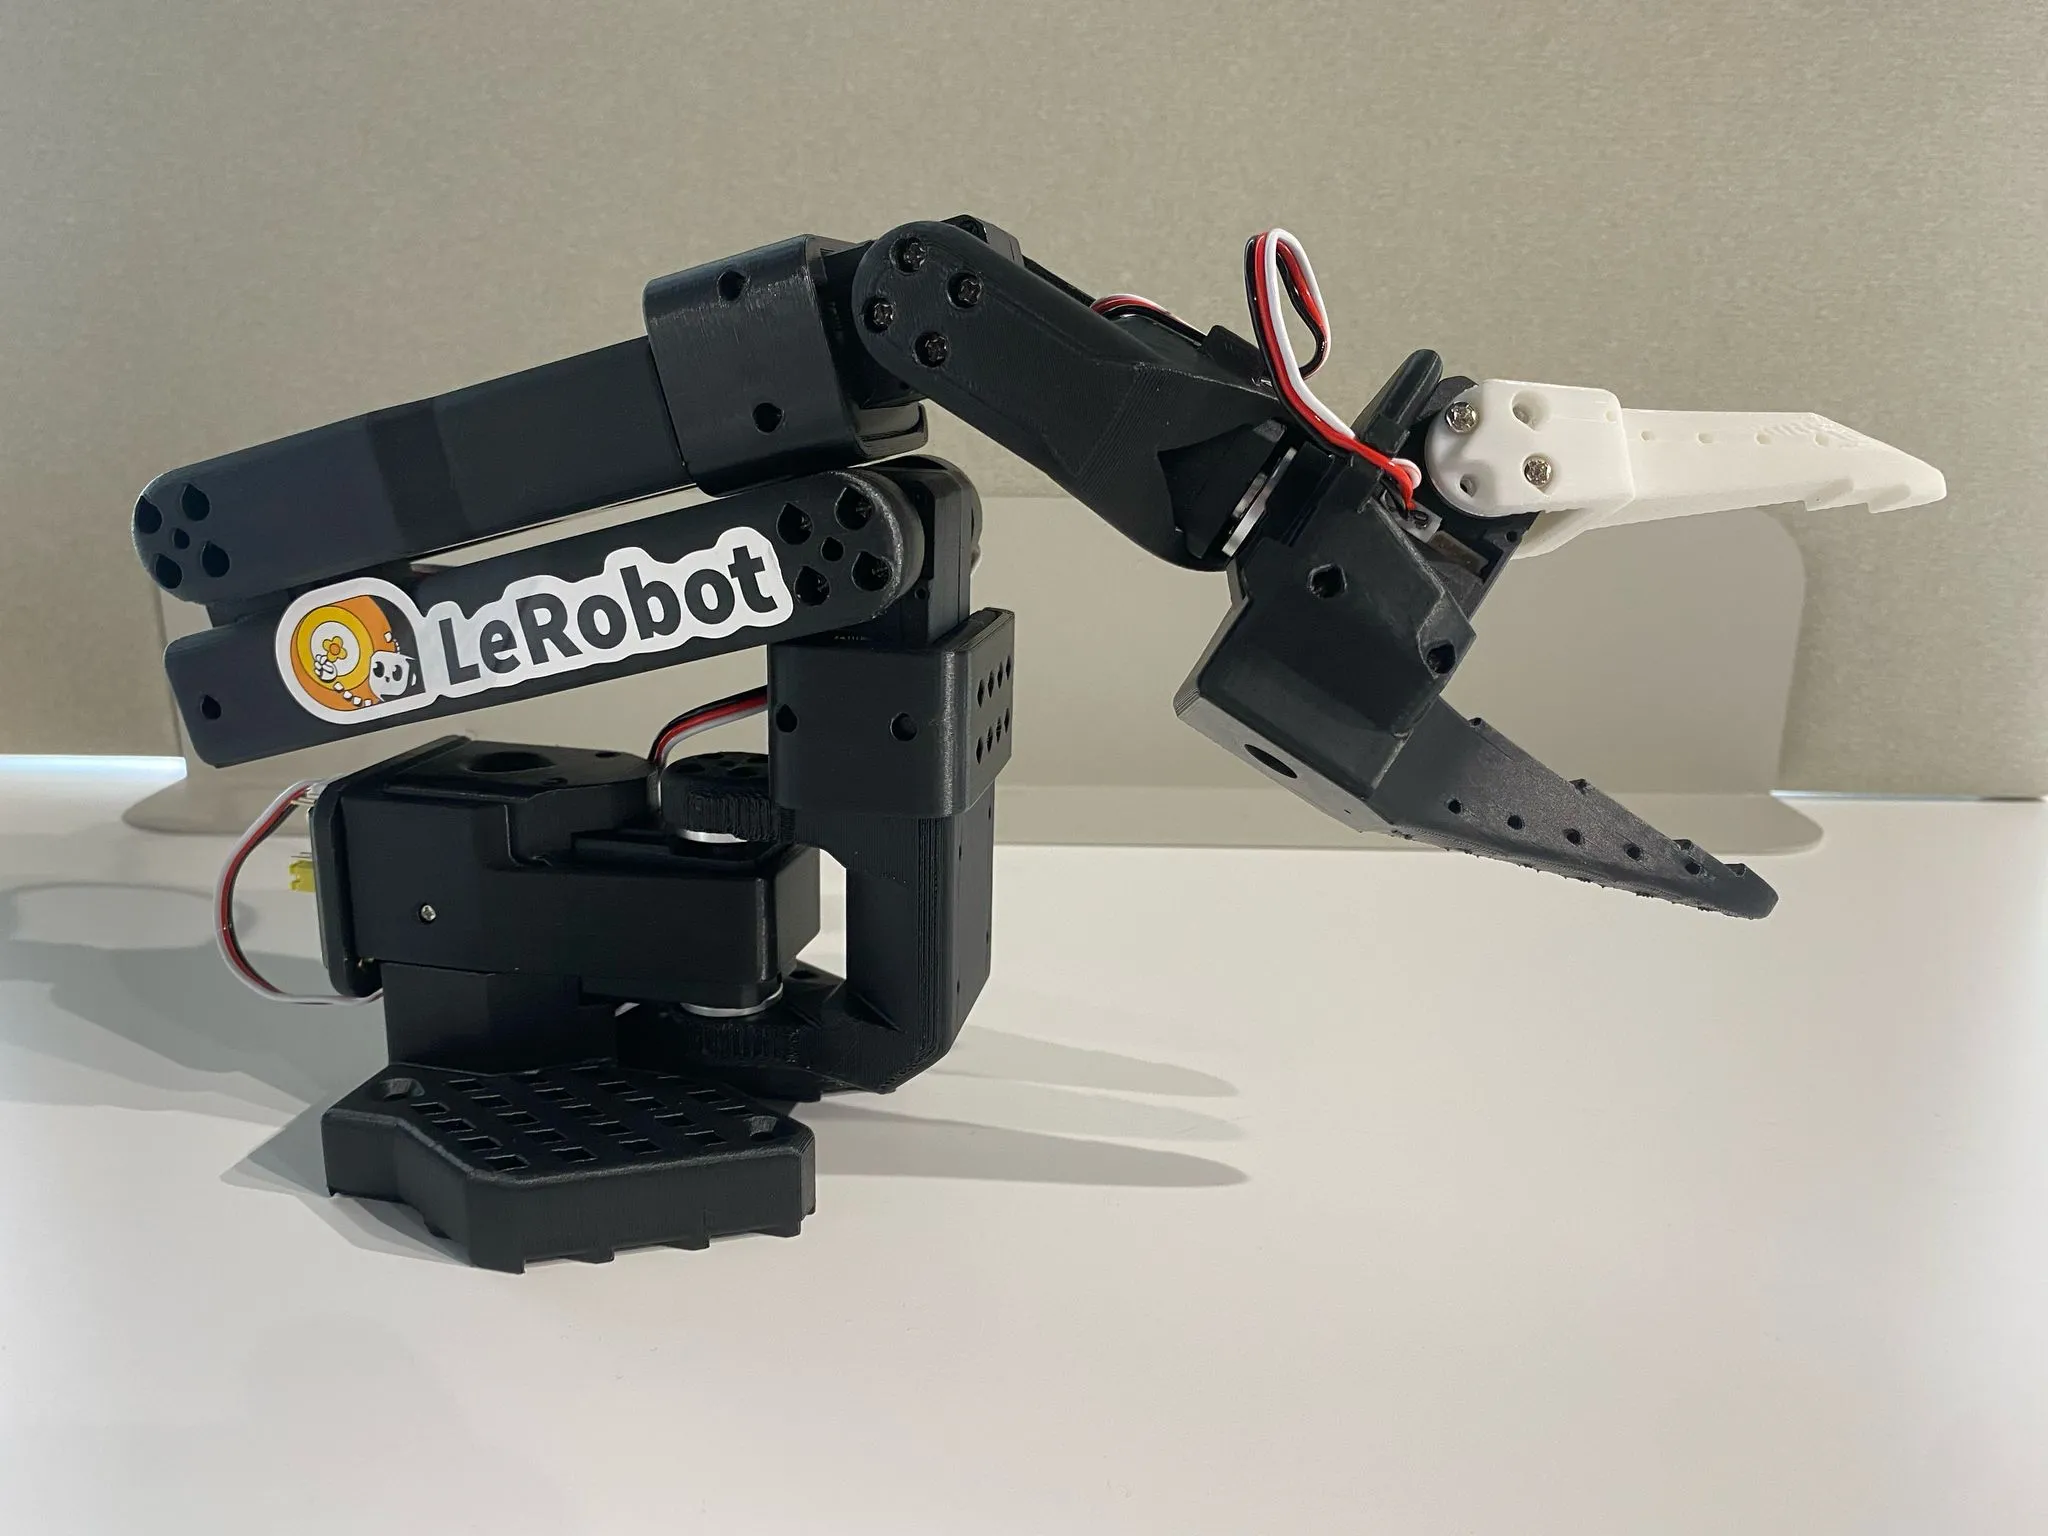
The SO-101 Robot Arms
For this second module, we will be writing code to send joint-level position commands to the follower arm.
Setup
You will need to use the 12V power supply with the follower arm. As a reminder, the follower arm is the one shown below.
As before, the setup process is:
- Clean off a lab space
- Grab a follower arm, a 12V power supply, and a usb-c cable.
- Mount the follower arm to the table using 2 c-clamps.
- Connect the 12V power supply and the usb-c cable to the robot, connect the other end of the usb-c to your computer.
Please put away all supplies and return the desk to a clean position when you are done with lab.
Calibration
For our new code, we will need to calibrate the robot arm again and store the calibration file in a specific location. To prevent needing to do this repeatedly, we will also assign this calibration a robot-specific name. Then, if you are consistently using the same robot, you will not need to repeat the calibration process in the future.
- Get Port-ID As before, we first need to find the port for the bus servo adapter:
lerobot-find-portTake note of the found port.
- Run Calibration as in Assignment 2
lerobot-calibrate \ --robot.type=so101_follower \ --robot.port=/dev/tty.usbmodem58760431541 \ # <- The port of your robot --robot.id=follower-1 # <- Give the robot a unique name. The robots in lab should have numbers on them. - Move the calibration to a folder on your path named calibrations To do this, you will need to replace $PATH_OF_CACHE_JSON with the location of your cached calibration file which is printed in the terminal after successful completion of your calibration
cd $ECE4560_FOLDER # <- Folder where you will be writing your code
mv $PATH_OF_CACHE_JSON/follower-1.json calibration_files/follower-1.json
Remember to replace the name `follower-1’ with whatever you named your robot in the calibration step
1. Read Joint Angles
First, we will write the code to communicate with the motors and read their positions.
Create Helper Functions
To set up communication with the so101 follower arm, will need to write two helper functions
load_calibrationsetup_motors
For cleaner code, we will write these helper functions in a separate python file named so101-utils.py.
Create a python file named so101-utils.py within your root folder ($ECE4560_FOLDER from before) and insert the following code:
# so101-utils.py
from lerobot.motors import Motor, MotorCalibration, MotorNormMode
from lerobot.motors.feetech import (
    FeetechMotorsBus,
    OperatingMode,
)
from pathlib import Path
import draccus
import time

def load_calibration(ROBOT_NAME) -> None:
    """
    Helper to load calibration data from the specified file.

    Args:
        fpath (Path | None): Optional path to the calibration file. Defaults to `self.calibration_fpath`.
    """
    fpath = Path(f'calibration_files/{ROBOT_NAME}.json')
    with open(fpath) as f, draccus.config_type("json"):
        calibration = draccus.load(dict[str, MotorCalibration], f)
        return calibration

def setup_motors(calibration, PORT_ID):
    norm_mode_body = MotorNormMode.DEGREES
    bus = FeetechMotorsBus(
                port=PORT_ID,
                motors={
                    "shoulder_pan": Motor(1, "sts3215", norm_mode_body),
                    "shoulder_lift": Motor(2, "sts3215", norm_mode_body),
                    "elbow_flex": Motor(3, "sts3215", norm_mode_body),
                    "wrist_flex": Motor(4, "sts3215", norm_mode_body),
                    "wrist_roll": Motor(5, "sts3215", norm_mode_body),
                    "gripper": Motor(6, "sts3215", MotorNormMode.RANGE_0_100),
                },
                calibration=calibration,
            )
    bus.connect(True)

    with bus.torque_disabled():
        bus.configure_motors()
        for motor in bus.motors:
            bus.write("Operating_Mode", motor, OperatingMode.POSITION.value)
            # Set P_Coefficient to lower value to avoid shakiness (Default is 32)
            bus.write("P_Coefficient", motor, 16)
            # Set I_Coefficient and D_Coefficient to default value 0 and 32
            bus.write("I_Coefficient", motor, 0)
            bus.write("D_Coefficient", motor, 32)
    return bus
Create Read Position Script
Create another python script (named something like read_position.py). Within this script, load in the helper function and print out the joint positions of the robot:
# read_position.py

import time
from so101_utils import load_calibration, setup_motors

# CONFIGURATION VARIABLES
PORT_ID = "/dev/tty.usbmodem5A460848371" # REPLACE WITH YOUR PORT!
ROBOT_NAME = "follower-1"

# Setup calibration and motor bus
calibration = load_calibration(ROBOT_NAME)
bus = setup_motors(calibration, PORT_ID)

# Disable motors so that you can move them freely
bus.disable_torque()

# PRINT POSITIONS CONSTANTLY
while True:
    present_pos = bus.sync_read("Present_Position")
    print(present_pos)
    time.sleep(0.02)  # 50 Hz loop
Make sure to replace PORT_ID and ROBOT_NAME with the ones specific to your robot.
Run Read Position Script
Run the read_position.py script and and verify that the “zero” position of the robot matches the following position:
2. Command Joint Positions
Once you’ve verified that you have the API to communicate with your robot, the final step is to send joint-level position commands to the robot.
Specifically, write a new script that:
- Moves from the current position to a desired position with a specified
move_time(duration during which the robot executes the movement) - Holds the desired position for a set duration, specified as the
hold_time - Moves back to the starting position with the same
move_timeas before
Add Helper Functions
To do this, create two additional helper functions, move_to_pose and hold_position. Add these to your so101-utils.py:
def move_to_pose(bus, desired_position, duration):
    start_time = time.time()
    starting_pose = bus.sync_read("Present_Position")

    while True:
        t = time.time() - start_time
        if t > duration:
            break

        # Interpolation factor [0,1] (make sure it doesn't exceed 1)
        alpha = min(t / duration, 1)

        # Interpolate each joint
        position_dict = {}
        for joint in desired_position:
            p0 = starting_pose[joint]
            pf = desired_position[joint]
            position_dict[joint] = (1 - alpha) * p0 + alpha * pf

        # Send command
        bus.sync_write("Goal_Position", position_dict, normalize=True)

        # (Optional) Read back
        present_pos = bus.sync_read("Present_Position")
        print(present_pos)

        time.sleep(0.02)  # 50 Hz loop

def hold_position(bus, duration):
    start_time = time.time()
    while True:
        t = time.time() - start_time
        if t > duration:
            break
        time.sleep(0.02)  # 50 Hz loop
Create Set Position Script
Create a new script (titled something like set_position.py) and specify your desired position and durations:
import time
from so101_utils import load_calibration, move_to_pose, hold_position, setup_motors

# CONFIGURATION VARIABLES
PORT_ID = "/dev/tty.usbmodem5A460848371" # REPLACE WITH YOUR PORT!
ROBOT_NAME = "follower-1" # REPLACE WITH YOUR ROBOT NAME!

# --- Specified Parameters ---
'''
This is the format of the goal position dictionary used for goal position sync write.
The gripper command takes values of 0-100, while the other joints take values of degrees, based on
the settings specified in the bus initialization.
'''
desired_position = {
    'shoulder_pan': 0.0,   # degrees
    'shoulder_lift': 0.0,
    'elbow_flex': 0.0,
    'wrist_flex': 0.0,
    'wrist_roll': 0.0,
    'gripper': 10.0           # 0-100 range
}
move_time = 2.0  # seconds to reach desired position
hold_time = 2.0  # total time to hold at

# ------------------------
Feel free to change the desired_position, move_time, and hold_time parameters. You may first want to verify that your desired_position is within the allowable range of motion of the robot using your
read_position.pyscript.
Complete Set Position Script
Lastly, use your helper functions to complete the movements as specified before:
- Move to
desired_positionformove_time - Hold
desired_positionforhold_time - Move back to starting position for
move_time
Remember, from our
read_position.pyscript that you can obtain the starting position using the command:starting_pose = bus.sync_read("Present_Position")Also, make sure to disable the motors at the end of your script using the command:
bus.disable_torque()If your robot is ever “stuck” in a certain position, you can also disable the motors by “power-cycling” the motors (unplugging/plugging in power).
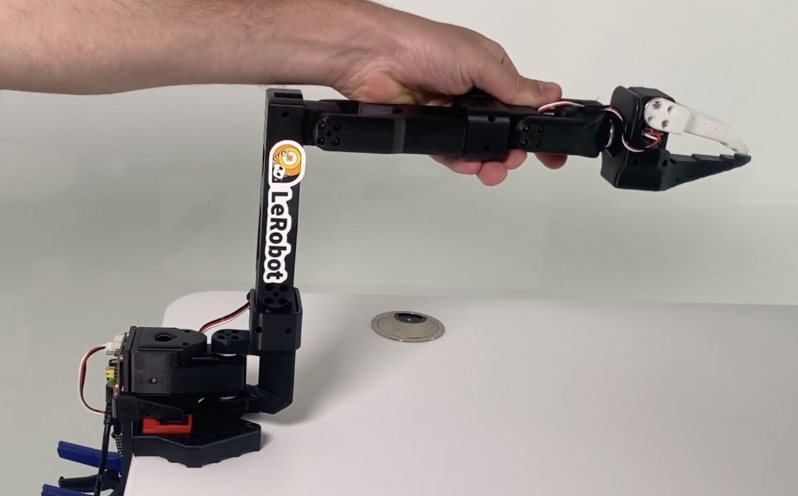
An example of the desired robot behavior is shown in the following video:
Submission Details
For the homework assignment, please take a video of your robot motion, upload it to youtube (it can be as a “unlisted” video), and include the link in your homework assignment. Also write any challenges/difficulties that you had when writing/executing the code.