Designed and Prototyped from Scratch
Over the past several years, I’ve purchased and assembled the following keyboards.
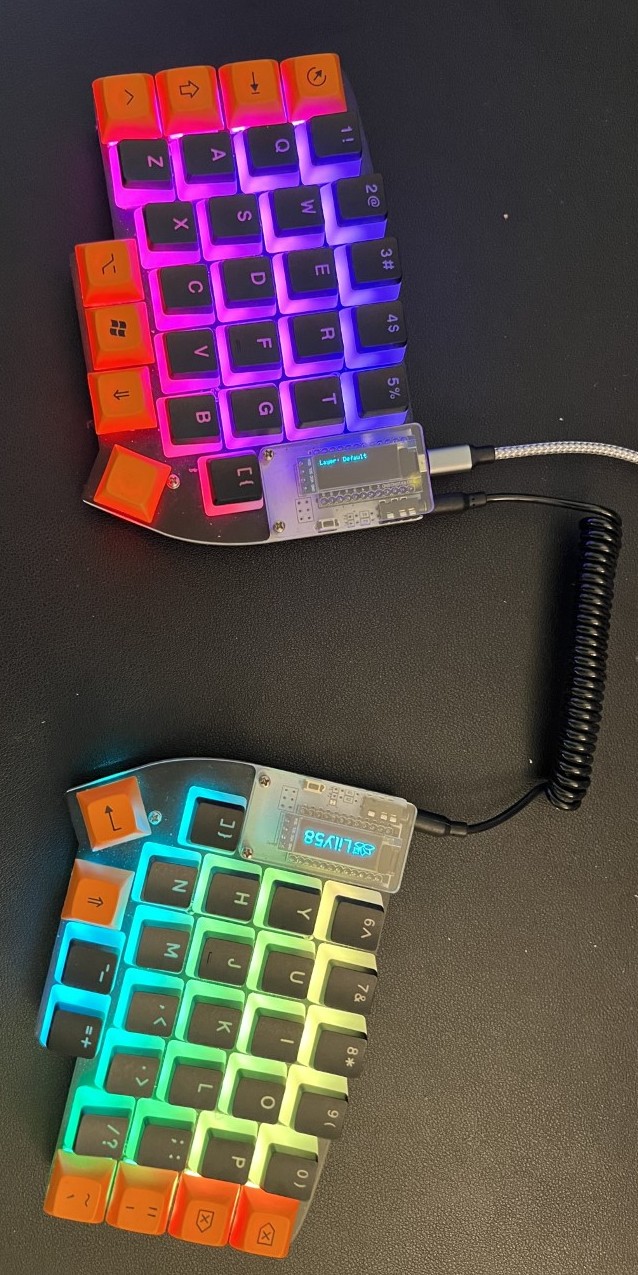
Lily58 Pro
I chose to purchase the Lily58 Pro PCB kit because it is relatively inexpensive and has a unique layout. Specifically, I purchased the through-hole version because I wanted individual LEDS for each key. Although in hindsight, I probably would buy the hotswap version instead. To assemble the keyboard, I followed this build guide. Also, my custom QMK firmware is provided on my github.
All purchased items:
- Keyboard PCB and plates ($25)
- 2 Pro Micros ($15)
- 65 Brown Gateron Switchs ($18)
- 2 OLED LCD Display Modules ($8)
- 58 SMD Diodes ($2.50)
- WS2812B 5050 LEDS ($11.45 ffor 200pcs)
- TRRS Cable ($2)
- Acrylic OLED Cover ([$3](https://keyhive.xyz/shop/lily58-pro-oled-acrylic-covers
- Micro USB Cable (pre-owned)))
Gopolar Tai-Chi GG86 Keyboard
I purchased the GG86 keyboard mostly to cheer myself up after a particularly tough month of work. But the huge benefit in purchasing this keyboard is witnessing what high-end mechanical keyboards look like. This thing is no joke!
All purchased items:
- Keyboard and case ($149): Link above
- 100 Cherry MX Red RGB Clear PCB Mount Switches ($49)
- Ducky ‘Frozen Llama’ Keycap Set ($49)
